Tuesday, April 20, 2010

Living Room and Master Bedroom Drapes

First of all… I don’t sew. I failed sewing in high school, I mean I miserably failed. It was not pretty. However, I sewed drapes for my master bedroom and living room... Go Me! I can sew a straight line so each panel is sewn with four straight lines… very simple.

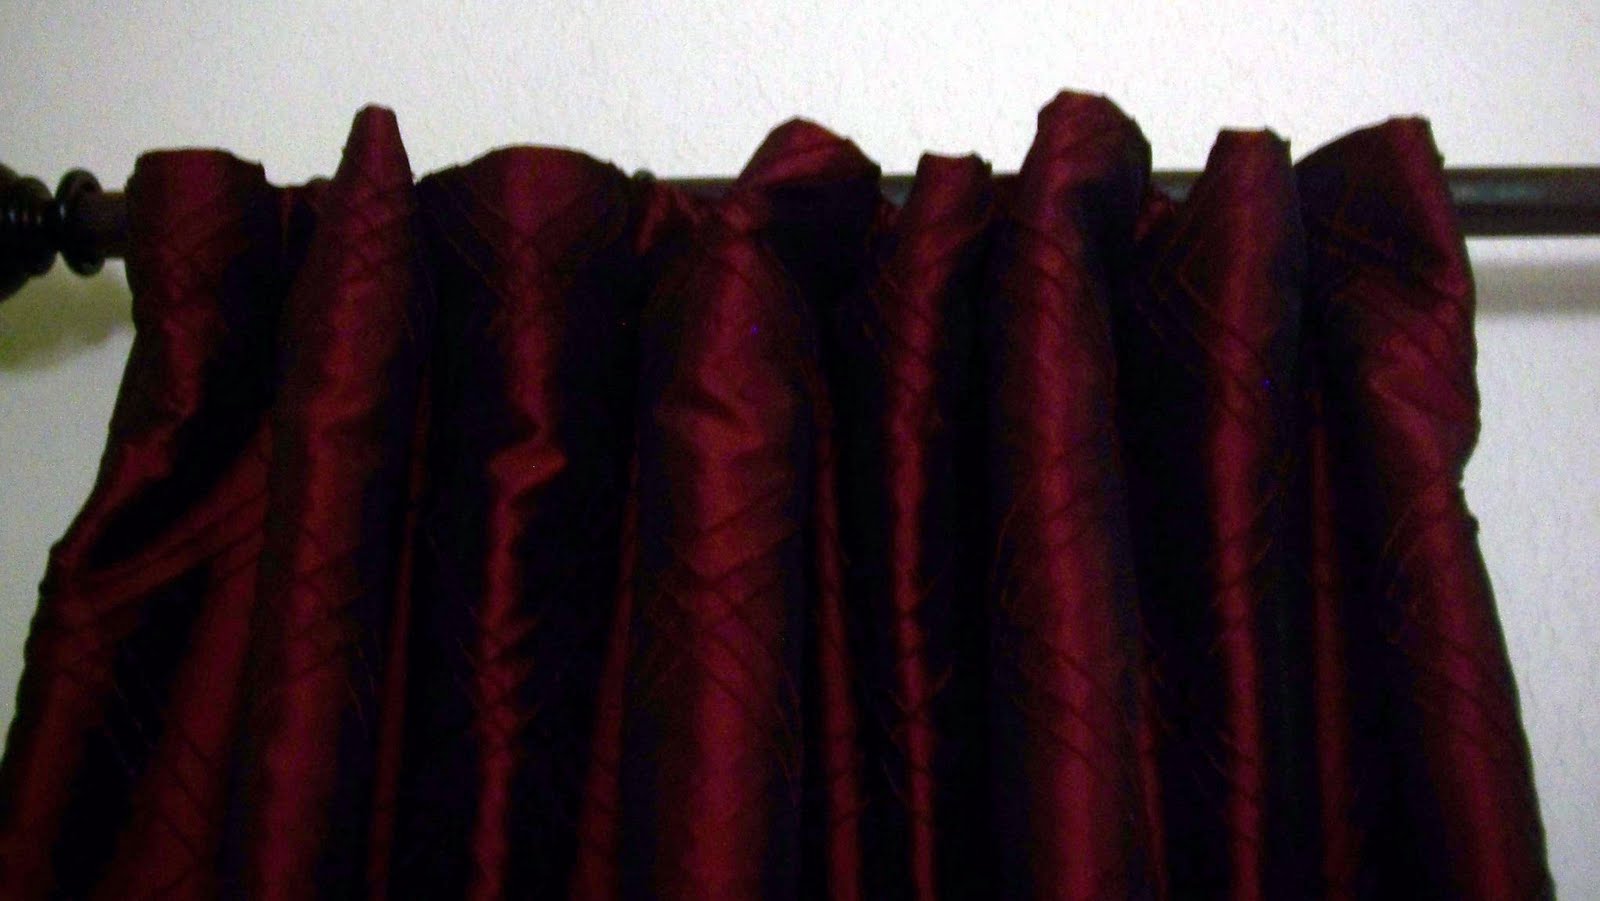
I found the fabric at Hancock's in the clearance section for $5.99/ yd, so if I messed it up it wouldn’t be too big a deal. My ceilings are pretty tall so each panel needed 3 ½ yards with a total of four panels in each room. There is a one inch hem on each side and the bottom, then a four inch hem at the top so that it would be thicker and therefore maybe hang better (I think it worked, I got the look I was going for). I used curtain ring clips and hung them Nester Style (fold and clip)... thank you Nester for the easy instructions, I need easy. :-)

I found that curtain rods are very expensive, especially when you need sixteen feet, so I purchased two eight foot closet rods for each room (a total of four rods) and spray painted them with espresso spray paint then added finials to each end. In the middle where the rods meet is covered by the bracket. I used three brackets in each room.

Here are the living room drapes:


The bedroom drapes... it was difficult to get a good photo because of the light coming in the windows, hopefully you can get an idea of what they look like.  The fabric is chocolate brown with a blue dot cluster and the walls are the same shade of blue as the dots.  Here is a close up of the fabric:

Thanks for stopping by.

Linking up to
DIY Day @ ASPTLJoin us Saturdays at tatertotsandjello.com for the weekend wrap up party! 

Thursday, April 8, 2010

Ballard Designs Inspired Corkboard

Looks like I have an obsession with Ballard Designs... but then, who doesn't. :-) 
I actually made this project about 4 years ago, long before I knew what a blog was, so I don't have any step by step photos. 

Here is the corkboard from Ballard Designs that I fell in love with...


Of course I was not willing to pay that much for a corkboard... so what's a crafty DIY kinda girl to do?   I went to Hobby Lobby's clearance section and found a (kinda ugly and a weird gold color) frame on clearance at 80% off.  I spray painted it black and inserted a metal frame corkboard (one that my son was no longer using).  I used small finishing nails to hold the corkboard into the frame... lightly tapped the finishing nails into the frame and then bent them over to hold it in place.  The silver border from the corkboard showed through the front of the frame, so I painted that too.  I am pleased with the results.  I think this project cost about $20 total.  Not too bad.


A great place to keep all my inspiration photos.  The paint swatches are shades of green that I am thinking about for my studio and the wreath I tore out of a magazine... I think it might be my next project.  :-)  Thanks for stopping by.

Linking up to the following:
Remodelaholic's Anonymous

 Join us Saturdays at tatertotsandjello.com for the weekend wrap up party!

Friday, April 2, 2010

Ballard Designs Inspired Monogram

I really like the monogram art Ballard Designs has on their site… the price, not so much. Then I saw on another blog something similar with a name added… loved it! Unfortunately, I don’t remember what blog I saw it on; if I can find it I will update this post with the info.  Here is the Ballard Designs photo:


Dafont.com offers a lot of free fonts, that is where I found the monogram.  I used microsoft publisher to create my my image and sized it to 8 x 10 then printed it on 8.5 x 11 linen textured cardstock. The linen texture kind of gives it the look of being printed on canvas… however, I don’t think this shows up in the photo.

I found my frame at Big Lots for $7 and spray painted it black… it is actually a solid wood frame, not plastic, a great find.


The frame came with a very nice double mat too, a nice textured cream colored mat with a silver second border mat toward the inside. The cream color didn’t work with my color scheme, so I painted it with an inexpensive craft paint and left the silver part of the mat as is.
 
I used post-it notes to tape off the silver part of the mat... my hand is not steady enough to free hand it.  :-)


I really like how it turned out.  Then I thought... wouldn't it look great as notecards....
 
 
Then I thought... it doesn't have to be a name, it could even be inspirational words...


Note cards available in my Etsy Shop.  Thanks for stopping by.


I am linking up to the following:
Remodelaholics Anonymous Meeting 13 
Thrifty Deco Chick Before and After Party

giveawaysGet your craft on Thurs.
Join us Saturdays at tatertotsandjello.com for the weekend wrap up party!